- August 28, 2025
- Mins Read
During develop of my app Frind, I needed to manage in app notifications like whatsapp or telegram, but i didn’t find nothing that liked me, so, i created this library. Choose InAppNotify for your next project, I’ll be happy to give you a little help!
★★ Star our github repository to help us!, or ☕ pay me a coffee ★★
Created by Luca Becchetti
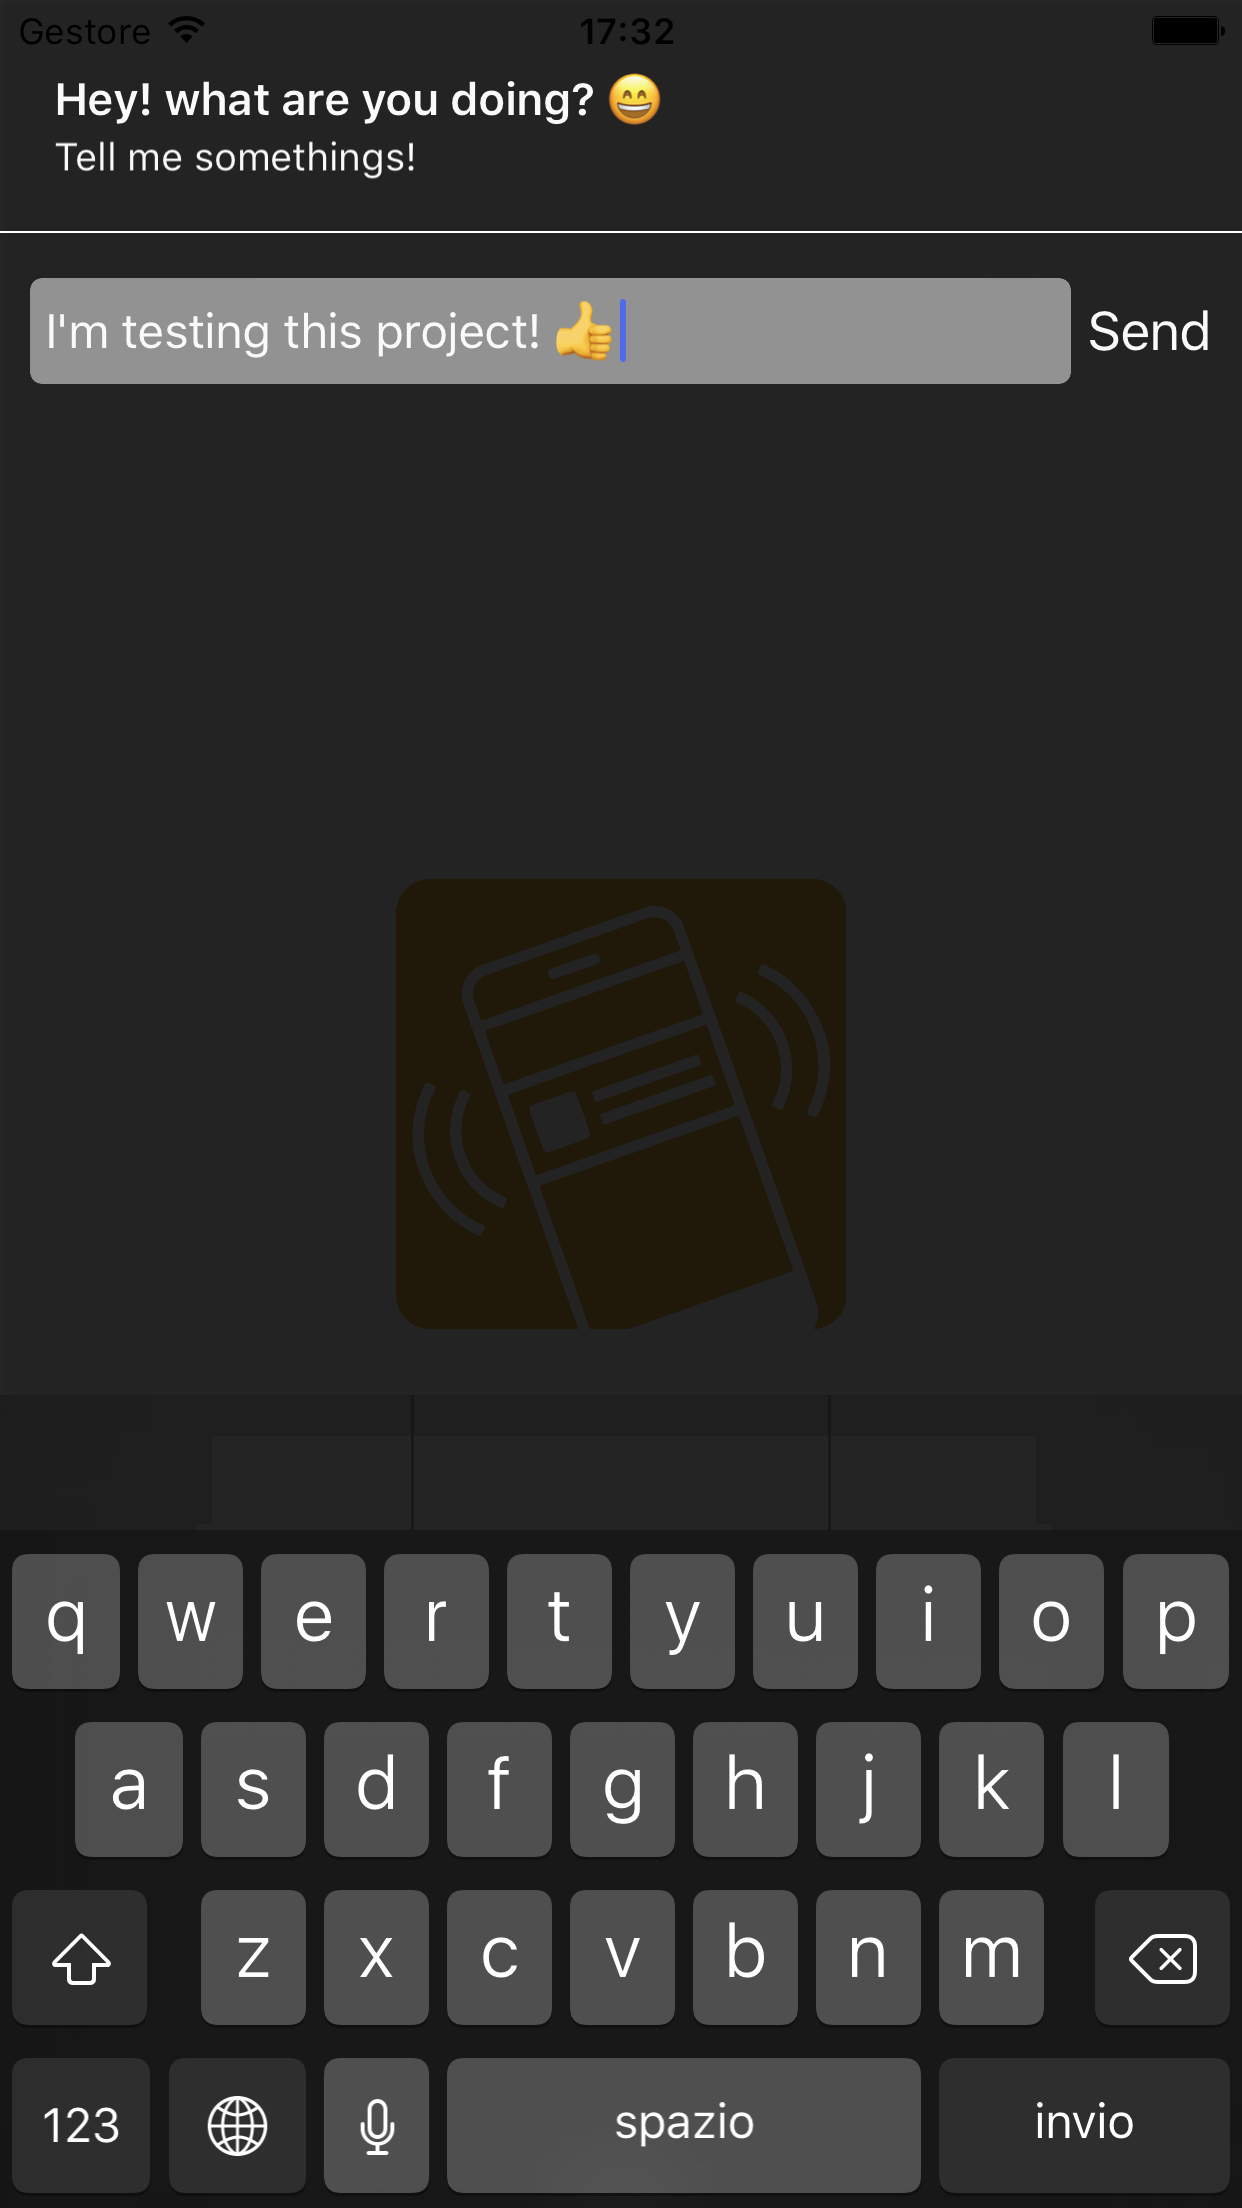
Screenshots


Requirements
- iOS 8+
- swift 4.0
Main features
Here’s a highlight of the main features you can find in InAppNotify:
- Multiple orientation We support
portraitandlandscapeorientation - Fully customizable. You can customize all programmatically
- Swipe gesture Up to dismiss, or down to show reply text field
You also may like
Do you like InAppNotify? I’m also working on several other opensource libraries.
Take a look here:
- CountriesViewController – Countries selection view
- SwiftMultiSelect – Generic multi selection tableview
- SwiftMulticastProtocol – send message to multiple classes
Installation with Cocoapods
CocoaPods is a dependency manager for Objective-C, which automates and simplifies the process of using 3rd-party libraries like InAppNotify in your projects. You can install it with the following command:
$ gem install cocoapods
Podfile
To integrate InAppNotify into your Xcode project using CocoaPods, specify it in your Podfile:
                                                source ‘https://github.com/CocoaPods/Specs.git’

platform :ios, ‘8.0’
target ‘TargetName’ do

use_frameworks!

pod ‘InAppNotify’

end
Then, run the following command:
$ pod install
How to use
First of all import library in your project
import InAppNotify
The basic code to show a simple notification is:
                                                //If you are in a UIViewController

InAppNotify.Show(Announcement(title: “Hello world! my first example!”), to: self)
InAppNotify.Show method
This is a static method used to present a notitication, it takes two parameters, first is an instance of Announcement object, the second is a subclass of UIViewController
Create announcement object
This library can show only an instance of “Announcement” object, you can pass many parameters to his initializer:
                                                let announce = Announcement(

//Title, the first line

title : “I am titile”,

//Subtitle, the second line

subtitle : “I am subititle”,

//Image local, show if no urlImage is set

image : UIImage(named: “test”),

//URL of remote image

urlImage : “https://…..”,

//Seconds before disappear

duration : 3,

//Interaction type. none or text

interactionType : InteractionType.none,

//Pass data to annoucement

userInfo : [“id” : 10],

//Action callback

action: { (type, string, announcement) in
//You can detect the action by test “type” var

if type == CallbackType.tap{

print(“User has been tapped”)

}else if type == CallbackType.text{

print(“Reply from notification: \(string!)”)

}else{

print(“Notification has been closed!”)

}

}
)
Present announcement object
When object is created you can present it with this code:
                                                //If you are in a UIViewController

InAppNotify.Show(announce, to: self)
Interact with notification
When you create an announcement, you can interact with it passed an action callback:
                                                //Inside initialization of announcement

action: { (type, string, announcement) in
//You can detect the action by test “type” var

if type == CallbackType.tap{

print(“User has been tapped”)

}else if type == CallbackType.text{

print(“Reply from notification: \(string!)”)

}else{

print(“Notification has been closed!”)

}
}
From the callbacak you can access the announcement object that has been triggered this method, announcement has a particolar attribute called “userInfo” (it’s of type “Any”) that you can set when create object, and read here.
If you want to enable a textField interaction when pull down notification, pass this parameter to announcement object:
                                                //Inside initialization of announcement

interactionType : InteractionType.text,
This will present a textArea where user can write! to modify the text button (“send” by default) use this code:
InAppNotify.sendString = “Send”
To read user input, if you have set an action callback, test if the type is “text” and access string variable:
                                                //Inside callback

if type == CallbackType.text{

print(“Reply from notification: \(string!)”)

}
Customization
InAppNotify supports themes, by default we have two themes, accessibile from “Themes” class:
- Themes.dark
- Themes.light
To use a theme you have to set a global variable of the library, example:
                                                //Set dark theme

InAppNotify.theme = Themes.dark
Of course, you can create your custom theme programmatically, here an example:
                                                //Create and use a custom theme

InAppNotify.theme = Theme(

titleFont : UIFont.boldSystemFont(ofSize: 18),

subtitleFont : UIFont.systemFont(ofSize: 13),

backgroundColor : UIColor(red:0.90, green:0.58, blue:0.15, alpha:1.00),

dragIndicatorColor : UIColor(red:0.95, green:0.80, blue:0.19, alpha:1.00),

titleColor : UIColor.white,

subtitleColor : UIColor.white,

shadowColor : UIColor.darkGray.cgColor,

inputTextBackgroundColor : UIColor(red:0.95, green:0.80, blue:0.19, alpha:1.00),

inputTextColor : UIColor.white,

sendButtonHighlightedColor : UIColor.darkGray,

sendButtonNormalColor : UIColor.black,

separatorLineColor : UIColor.black

)
GitHub
#cocoapods #ios #library #notification #objectivec #swift #textfield
YOU MIGHT ALSO LIKE...

- August 27, 2025
- SwiftUI
This package provides you with an easy way to show tooltips over any SwiftUI view, since Apple does not provide ...
- August 27, 2025
- SwiftUI
- Uncategorized
SimpleToast is a simple, lightweight, flexible and easy to use library to show toasts / popup notifications inside iOS or ...
- August 27, 2025
- SwiftUI
Create Toast Views with Minimal Effort in SwiftUI Using SSToastMessage. SSToastMessage enables you to effortlessly add toast notifications, alerts, and ...

- August 27, 2025
- Mins Read
- August 27, 2025
- Mins Read
- August 27, 2025
- Mins Read
- August 22, 2025
- Mins Read
