- August 28, 2025
- Mins Read
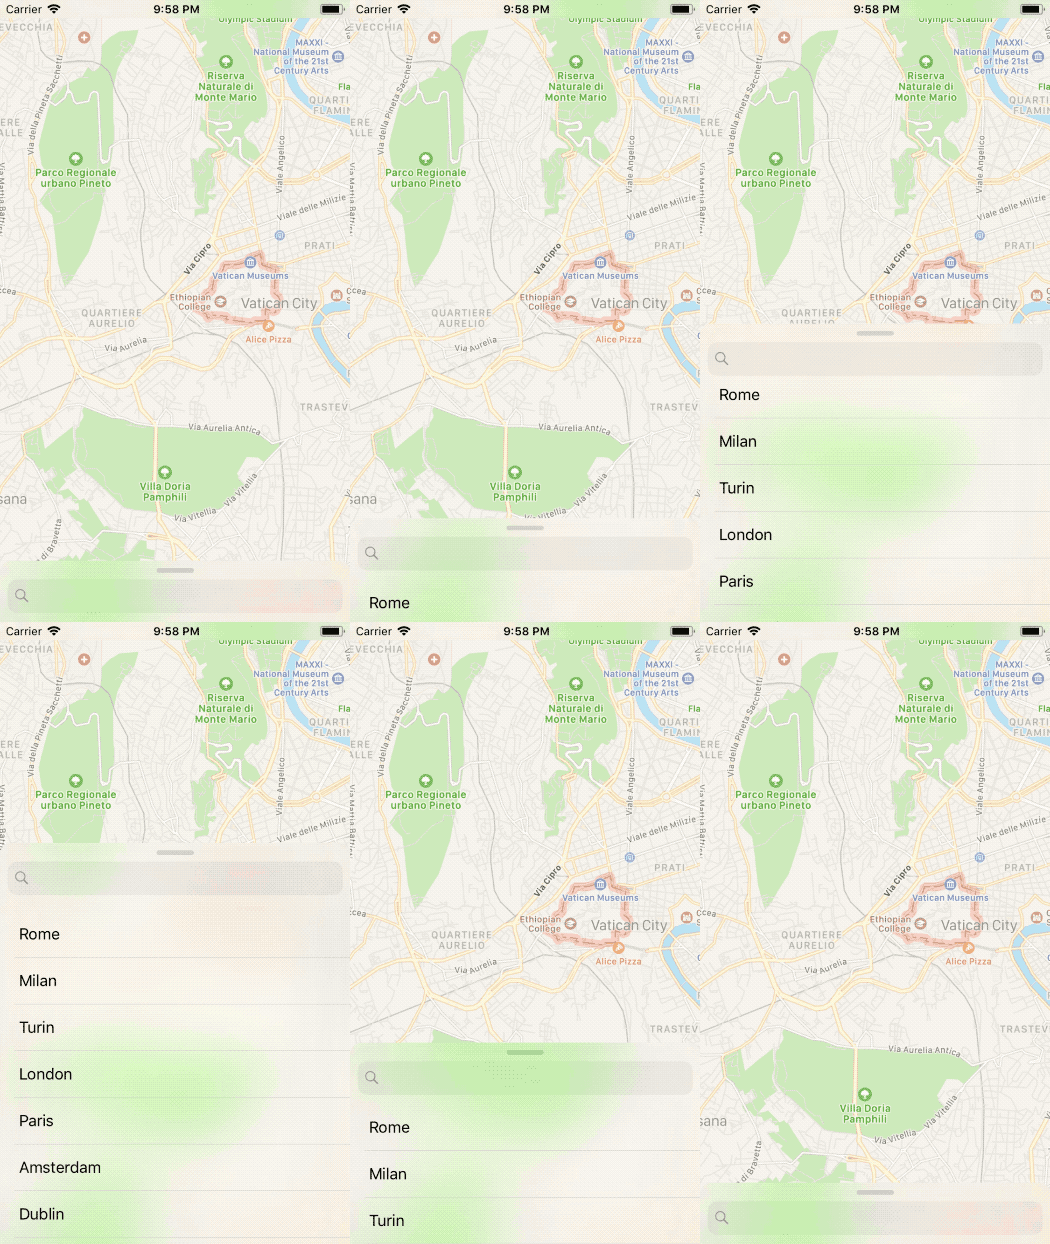
Create your own pull up controller with multiple sticky points like in iOS Maps
Features
- Multiple sticky points
- Landscape support
- Scroll views friendly
Setup
- Add
pod 'PullUpController'to your Podfile or copyPullUpController.swiftinto your project - Make sure the view controller that will be your pull up controller inherits from
PullUpController - Add the controller as child of your main controller using
addPullUpController(<#T##PullUpController#>, initialStickyPointOffset: <#T##CGFloat#>, animated: <#T##Bool#>)
Customization
You can customize the controller behavior by overriding the followings properties:
pullUpControllerPreferredSize: CGSize
The desired size of the pull up controller’s view, in screen units. The default value is width:
UIScreen.main.bounds.width, height: 400.
pullUpControllerPreferredLandscapeFrame: CGRect
The desired size of the pull up controller’s view, in screen units when the device is in landscape mode. The default value is
(x: 10, y: 10, width: 300, height: UIScreen.main.bounds.height - 20).
pullUpControllerMiddleStickyPoints: [CGFloat]
A list of y values, in screen units expressed in the pull up controller coordinate system. At the end of the gestures the pull up controller will scroll to the nearest point in the list.
For a complete list of all the sticky points you can use
pullUpControllerAllStickyPoints
pullUpControllerBounceOffset: CGFloat
A CGFloat value that determines how much the pull up controller’s view can bounce outside it’s size. The default value is 0 and that means the the view cannot expand beyond its size.
It’s possible to change the view controller’s view position programmatically by using the method pullUpControllerMoveToVisiblePoint(_ visiblePoint: CGFloat, animated: Bool, completion: (() -> Void)?)
This method will move the pull up controller’s view in order to show the provided visible point.
You may use on of
pullUpControllerAllStickyPointsitem to provide a valid visible point.
visiblePoint: the y value to make visible, in screen units expressed in the pull up controller coordinate system.animated: a true value will move the view with an animation.completion: the closure to execute after the animation is completed. This block has no return value and takes no parameters. You may specify nil for this parameter.
By overriding the following method it is possible to customize all the animations performed by the controller’s view. pullUpControllerAnimate(action: Action, withDuration duration: TimeInterval, animations: @escaping () -> Void, completion: ((Bool) -> Void)?)
You can consider override this method and customize the animation using the method
UIView.animate(withDuration:, delay:, usingSpringWithDamping:, initialSpringVelocity:, options:, animations:, completion:)
parameter: The action that is about to be performed (.add, .remove or .move)duration: The total duration of the animations, measured in seconds. If you specify a negative value or 0, the changes are made without animating them. –animations: A block object containing the changes to commit to the views.completion: A block object to be executed when the animation sequence ends.
It is possible to observe the PullUpController’s view state by overriding those methods: pullUpControllerWillMove(to point: CGFloat)
This method is called before the pull up controller’s view move to a sticky point.
pullUpControllerDidMove(to point: CGFloat)
This method is called after the pull up controller’s view move to a point.
pullUpControllerDidDrag(to point: CGFloat)
This method is called after the pull up controller’s view is dragged to a point.
PullUpController is easy draggable even if your PullUpController‘s view contains a UIScrollView, just attach it to the controller itself with the following method: <#T##UIScrollView#>.attach(to: <#T##PullUpController#>)
Attach the scroll view to the provided pull up controller in order to move it with the scroll view content.
pullUpController: the pull up controller to move with the current scroll view content.
GitHub
- August 27, 2025
- SwiftUI
This package provides you with an easy way to show tooltips over any SwiftUI view, since Apple does not provide ...
- August 27, 2025
- SwiftUI
- Uncategorized
SimpleToast is a simple, lightweight, flexible and easy to use library to show toasts / popup notifications inside iOS or ...
- August 27, 2025
- SwiftUI
Create Toast Views with Minimal Effort in SwiftUI Using SSToastMessage. SSToastMessage enables you to effortlessly add toast notifications, alerts, and ...


