- July 26, 2025
- Mins Read
Add a Splash to Your SwiftUI Interface
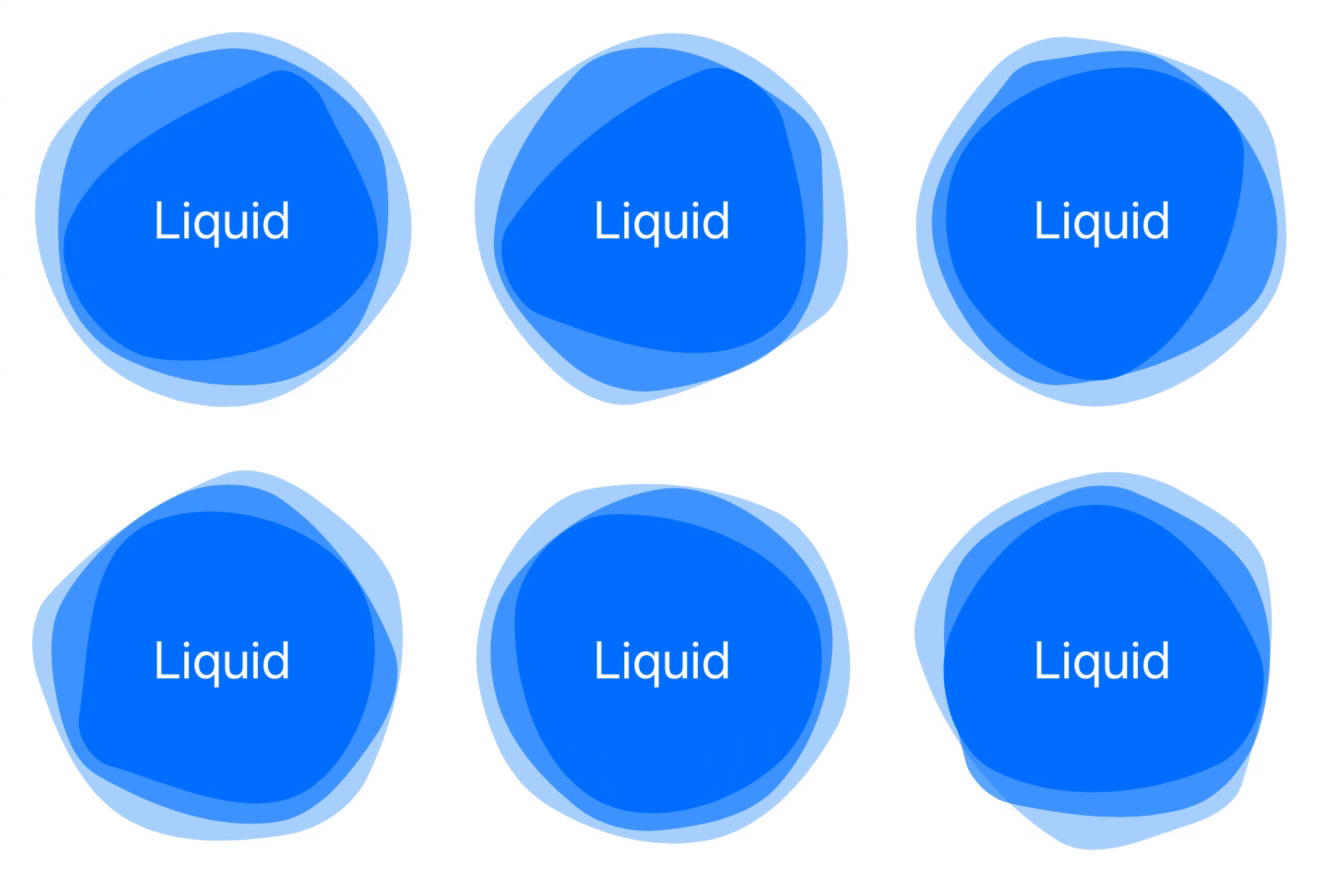
Create a subtle and playful backsplash with Liquid(). Try liquid behind your artwork, as a button, or even with your own shapes. Just add Liquid() to your view to get started!
Contents
- Add the Package
- Basic Usage
- Example
- Credits
Package
For Xcode Projects
File > Swift Packages > Add Package Dependency: https://github.com/maustinstar/liquid
For Swift Packages
Add a dependency in your your Package.swift
.package(url: “https://github.com/maustinstar/liquid.git”, from: “0.0.1”),
Basic Usage
Just import Liquid, and add it to your View to get started.
                                                struct ContentView: View {

var body: some View {

Liquid().frame(width: 200, height: 200)

}

}
See the full Reference Guide.
Example
Layered Liquid
                                                struct ContentView: View {

var body: some View {

ZStack {

Liquid()

.frame(width: 240, height: 240)

.foregroundColor(.blue)

.opacity(0.3)
Liquid()

.frame(width: 220, height: 220)

.foregroundColor(.blue)

.opacity(0.6)
Liquid(samples: 5)

.frame(width: 200, height: 200)

.foregroundColor(.blue)
Text(“Liquid”).font(.largeTitle).foregroundColor(.white)

}

}

}
GitHub
- July 26, 2025
- SwiftUI
NavigationKit is a lightweight library which makes SwiftUI navigation super easy to use. 💻 Installation 📦 Swift Package Manager Using Swift Package Manager, add ...
- July 26, 2025
- SwiftUI
An alternative SwiftUI NavigationView implementing classic stack-based navigation giving also some more control on animations and programmatic navigation. NavigationStack Installation ...
- July 25, 2025
- SwiftUI
With SwiftUI Router you can power your SwiftUI app with path-based routing. By utilizing a path-based system, navigation in your app becomes ...
- July 25, 2025
- SwiftUI
- Uncategorized
This package takes SwiftUI's familiar and powerful NavigationStack API and gives it superpowers, allowing you to use the same API not just ...


