- August 28, 2025
- Mins Read
NotchKit is a simple way to hide the notch on the iPhone X, and create a card-like interface for your apps. Inspired by this tweet from Sebastiaan de With:
I hope / wish that the ‘iPhone 8’ UI looks like this: using black OLED or wallpaper behind to make apps ‘cards’. Would be beautiful. pic.twitter.com/mravS87NFy
— Sebastiaan de With (@sdw) August 31, 2017
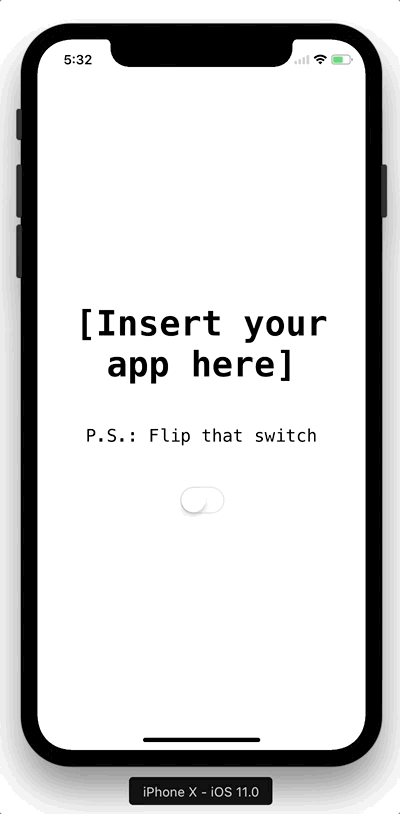
Here’s what it looks like:
Requirements
- Swift 4
- iOS 8
Installation
NotchKit is available via CocoaPods and Carthage
CocoaPods
To install NotchKit using CocoaPods, add the following line to your Podfile:
pod ‘NotchKit’
Carthage
To install NotchKit using Carthage, add the following line to your Cartfile:
github “HarshilShah/NotchKit”
Usage
Integrating NotchKit is extremely simple. Firstly, import NotchKit in the file where your AppDelegate is stored.
Next, replace the didFinishLaunchingWithOptions method with the following, swapping in your custom view controller’s class in place of ViewController
                                                func application(_ application: UIApplication, didFinishLaunchingWithOptions launchOptions: [UIApplicationLaunchOptionsKey: Any]?) -> Bool {

window = NotchKitWindow(frame: UIScreen.main.bounds)

let rootViewController = ViewController()

window?.rootViewController = rootViewController

window?.makeKeyAndVisible()

return true

}
If you use Storyboards, you can instantiate your Storyboard and fetch the new rootViewController in code using the following, swapping in your Storyboard’s class for Main:
                                                let storyboard = UIStoryboard(name: “Main”, bundle: nil)

let rootViewController = storyboard.instantiateInitialViewController()
If you target a version of iOS earlier than iOS 11, you can still use NotchKit by loading the NotchKitWindow conditionally using the #available syntax, as follows:
                                                window = {

if #available(iOS 11, *) {

return NotchKitWindow()

} else {

return UIWindow()

}

}()
And that’s all, you’re done!
Customisation
There are some customisation points offered in NotchKit.
You can adjust these from any view or view controller belonging to the window, by simply calling the window as a NotchKitWindow, as follows:
(view.window as? NotchKitWindow)?.propertyToCustomise = valueYouWantToSet
Target Devices
By default, NotchKit hides the status bar and home indicator on all devices. However if you choose you can limit this behaviour to just the iPhone X and have it do nothing on other devices by setting the shouldShowBarsOnlyOniPhoneX property to true.
Masked Edges
By default, NotchKit masks all edges where applicable. You can customise this behaviour using the maskedEdges property, which accepts a UIRectEdge object that specifies the edges you want to mask.
Corner Radius
You can customise the corner radius of the window, via the .cornerRadius property. This property is an enum and can either be .standard, which does all the maths for you to show an appropriate corner radius, or you can set a custom value by setting it to .custom(n), where n is a custom corner radius of your choice.
GitHub
#ios #iphonex
YOU MIGHT ALSO LIKE...

- August 27, 2025
- SwiftUI
This package provides you with an easy way to show tooltips over any SwiftUI view, since Apple does not provide ...
- August 27, 2025
- SwiftUI
- Uncategorized
SimpleToast is a simple, lightweight, flexible and easy to use library to show toasts / popup notifications inside iOS or ...
- August 27, 2025
- SwiftUI
Create Toast Views with Minimal Effort in SwiftUI Using SSToastMessage. SSToastMessage enables you to effortlessly add toast notifications, alerts, and ...

- August 27, 2025
- Mins Read
- August 27, 2025
- Mins Read
- August 27, 2025
- Mins Read
- August 22, 2025
- Mins Read
