- August 28, 2025
- Mins Read
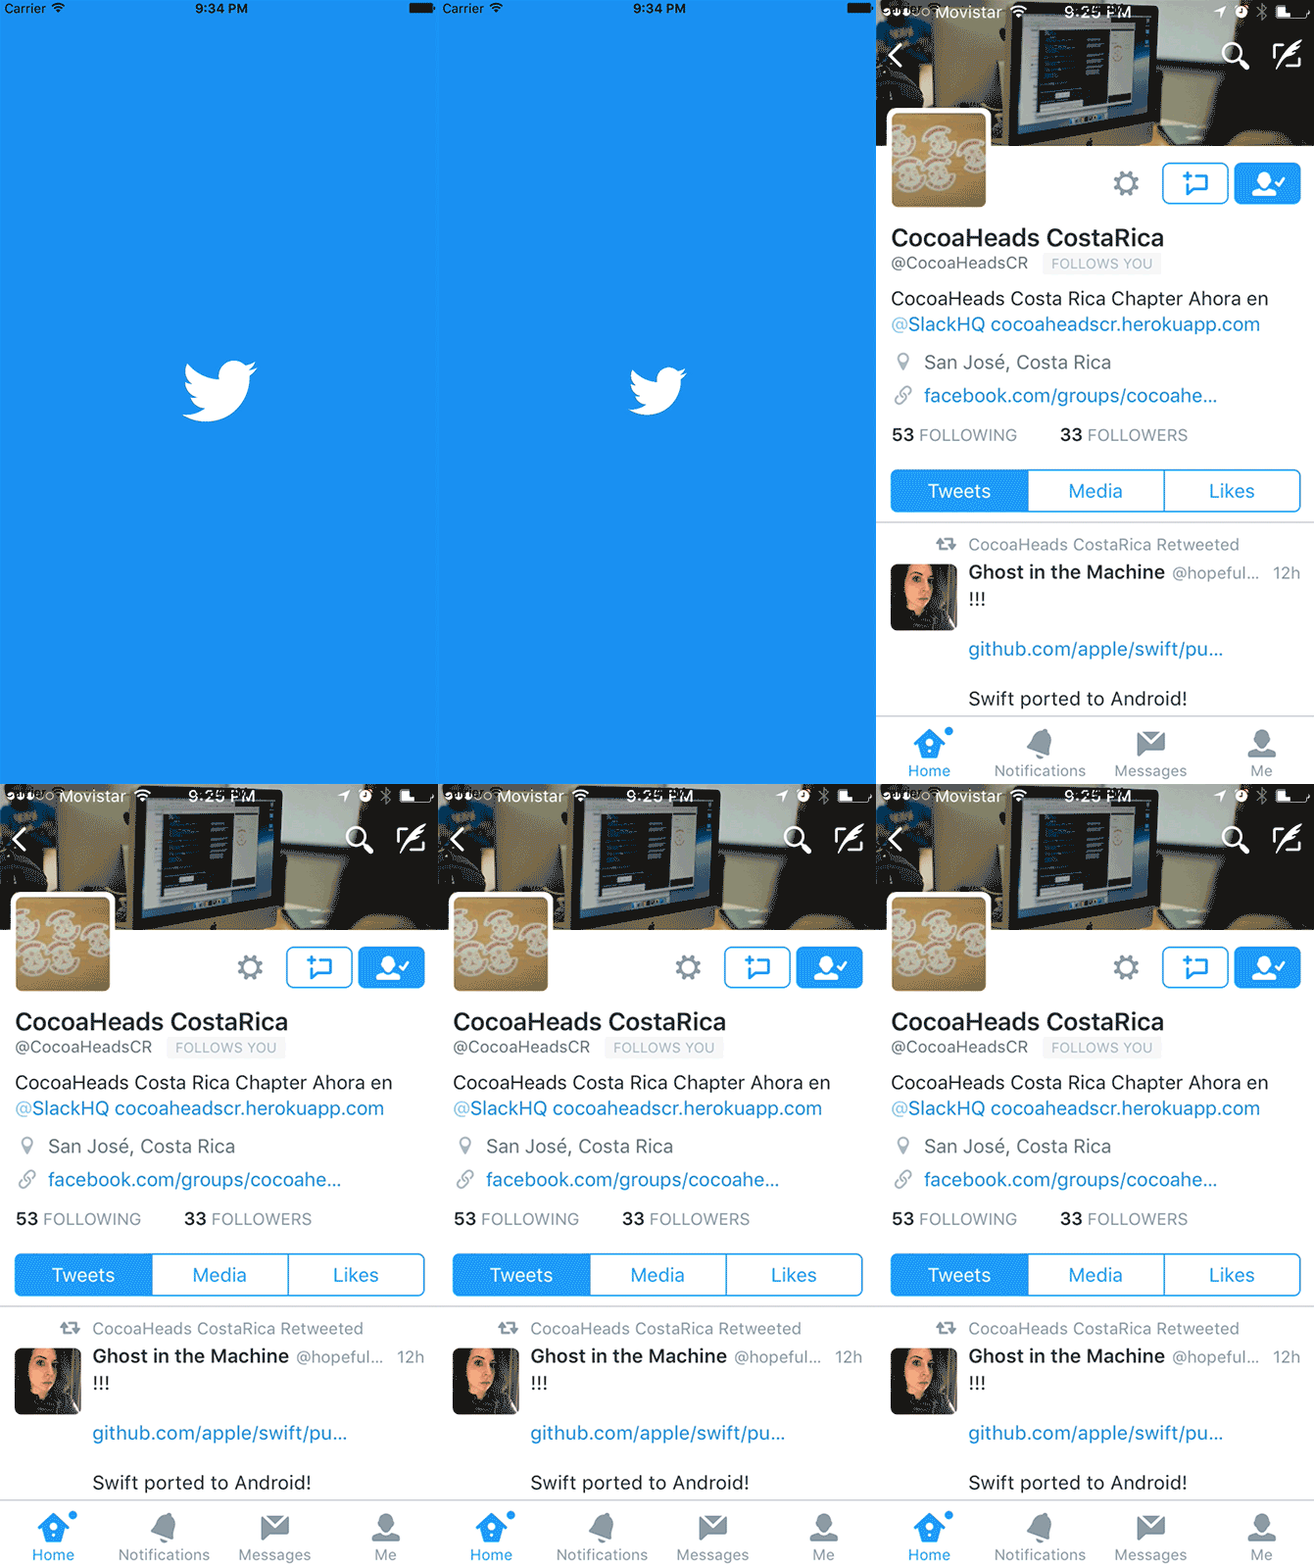
A Splash view that animates and reveals its content, inspired by the Twitter splash.

⭐Features
- Customizable reveal icon image.
- Customizable icon image color.
- Customizable icon image size.
- Customizable background color.
- Customizable animation duration.
- Customizable animation delay.
- Several animation to choose from.
- Easy to use 😉.
 Installation
Get RevealingSplashView on CocoaPods, just add pod 'RevealingSplashView' to your Podfile and then run pod install. You can also add the github to your Carthage file.
If you use Carthage you can just install it by adding github "PiXeL16/RevealingSplashView" to your Carthage file.
Using Swift 2.3?
If you are using Swift 2.3, please use the 0.0.6 release.
🤘Usage
Video Tutorial
Rebeloper created a nice Video Tutorial where you can also learn how to use this control!. You can also follow the docs below
Usage is pretty easy, just initialize your RevealingSplashView in your entry ViewController and in your viewDidLoad() function add it to your view. Then call startAnimation():
                                                import RevealingSplashView
override func viewDidLoad() {

super.viewDidLoad()
//Initialize a revealing Splash with with the iconImage, the initial size and the background color

let revealingSplashView = RevealingSplashView(iconImage: UIImage(named: “twitterLogo”)!,iconInitialSize: CGSize(width: 70, height: 70), backgroundColor: UIColor(red:0.11, green:0.56, blue:0.95, alpha:1.0))
//Adds the revealing splash view as a sub view

self.view.addSubview(revealingSplashView)
//Starts animation

revealingSplashView.startAnimation(){

print(“Completed”)

}
}
Ideally your iconInitialSize should match the size of the icon in your LaunchScreen.storyboard.
So it you set your constrains in your LaunchScreen.storyboard to be 80 height and 80 width you should set the same size as the initial size of the RevealingSplashView
Custom Icon Color
You are also able to change the color of your iconImage.
                                                import RevealingSplashView
override func viewDidLoad() {

super.viewDidLoad()
//Initialize a revealing Splash with with the iconImage, the initial size and the background color

let revealingSplashView = RevealingSplashView(iconImage: UIImage(named: “twitterLogo”)!,iconInitialSize: CGSize(width: 70, height: 70), backgroundColor: UIColor(red:0.11, green:0.56, blue:0.95, alpha:1.0))
revealingSplashView.useCustomIconColor = true

revealingSplashView.iconColor = UIColor.red
//Adds the revealing splash view as a sub view

self.view.addSubview(revealingSplashView)
//Starts animation

revealingSplashView.startAnimation(){

print(“Completed”)

}
}
This will change the actual icon color to red before the animation.
Custom Background Image
You are also able to change the background image of your backgroundImage.
                                                import RevealingSplashView
override func viewDidLoad() {

super.viewDidLoad()
//Initialize a revealing Splash with with the iconImage, the initial size and the background color

let revealingSplashView = RevealingSplashView(iconImage: UIImage(named: “twitterLogo”)!, iconInitialSize: CGSize(width: 70, height: 70), backgroundImage: UIImage(named: “BackgroundImage”)!)
revealingSplashView.useCustomIconColor = false

revealingSplashView.iconColor = UIColor.red
//Adds the revealing splash view as a sub view

self.view.addSubview(revealingSplashView)
//Starts animation

revealingSplashView.startAnimation(){

print(“Completed”)

}
}
Using NavigationBar or TabBar?
If you are using a NavigationBar or TabBar as your entry view controller, chances are that the animation will look offset by some pixels. There are a couple of options here: Instead of adding the RevealingSplashView to your ViewController, you can add it to your window.
                                                let window = UIApplication.sharedApplication().keyWindow

window?.addSubview(revealingSplashView)
You can also create another entry view controller. Then add the RevealingSplashView to that ViewController instead of the one with the NavigationBar or TabBar. Then after the animation of the RevealingSplashView ends you can transition to your NavigationViewController.
👍Animations Types
There are several animations to choose from just set the animationType property of the RevealingSplashView
Its the default animation that Twitter use for their app. If animationType is not set it will default to this one.

HeartBeat
HeartBeat like animation, unlike the other animations, this special animation allows you to continue to animate until a function its called. This could be more entertaining to the user than having a quick launch and waiting on a spinning wheel if the app needs to fetch more data.
To use the Heartbeat animation you should startAnimation() as normal and then proceed with your network or background job. When you are done, just call
.heartAttack = true
And the splashview should dismiss.

Rotate Out
Similar to the Twitter one but rotating while zooming out.
revealingSplashView.animationType = SplashAnimationType.rotateOut

Pop and Zoom Out
Pop the view a couple of times and zoom out.
revealingSplashView.animationType = SplashAnimationType.popAndZoomOut

Squeeze and Zoom Out
Squeeze the view and zoom out.
revealingSplashView.animationType = SplashAnimationType.squeezeAndZoomOut

Swing and Zoom Out
Swings the view and zoom out.
revealingSplashView.animationType = SplashAnimationType.swingAndZoomOut

Wobble and Zoom Out
Wobbles the view and zoom out.
revealingSplashView.animationType = SplashAnimationType.wobbleAndZoomOut

GitHub
- August 27, 2025
- SwiftUI
This package provides you with an easy way to show tooltips over any SwiftUI view, since Apple does not provide ...
- August 27, 2025
- SwiftUI
- Uncategorized
SimpleToast is a simple, lightweight, flexible and easy to use library to show toasts / popup notifications inside iOS or ...
- August 27, 2025
- SwiftUI
Create Toast Views with Minimal Effort in SwiftUI Using SSToastMessage. SSToastMessage enables you to effortlessly add toast notifications, alerts, and ...


