- August 28, 2025
- Mins Read
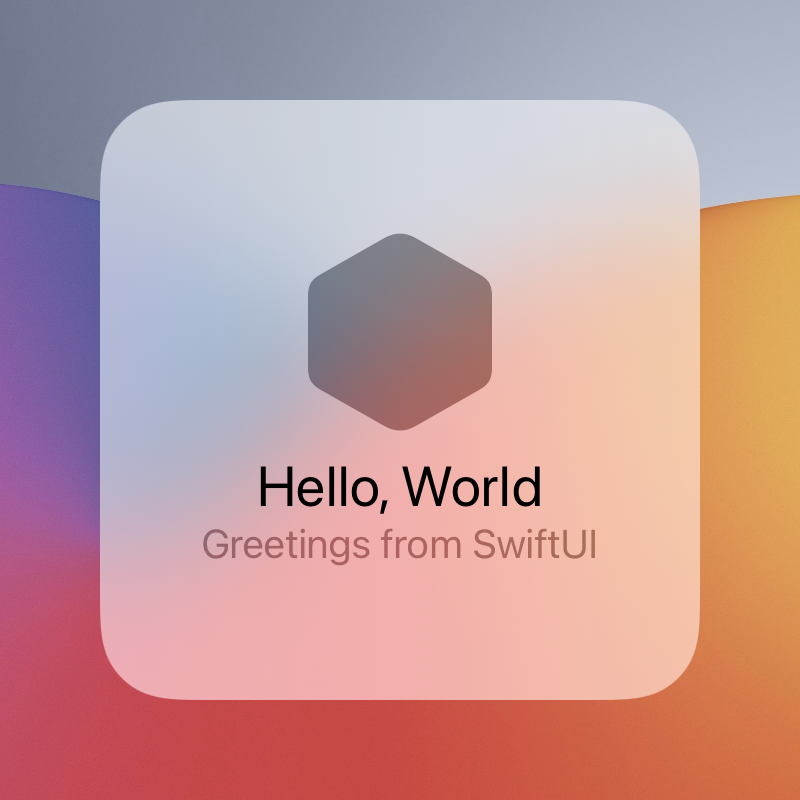
View modifiers that wrap UIVisualEffectView and all of its associated objects, with environment integration for storing effect styles. Vibrancy effects will always use the current blur effect style for proper vibrancy-effect layering.

Adding and Styling a Blur Effect
                                                YourView()

// Add a blur effect.

.blurEffect()

// Style the blur effect.

.blurEffectStyle(.systemChromeMaterial)
Adding and Styling a Vibrancy Effect
                                                YourView()

// Add a vibrancy effect.

.vibrancyEffect()

// Style the vibrancy effect.

.vibrancyEffectStyle(.fill)
Adding and Styling Blur and Vibrancy Effects
                                                ZStack {

YourBackgroundContent()

// Add a blur effect.

.blurEffect()
YourForegroundContent()

// Add a vibrancy effect.

.vibrancyEffect()

}

// Set the style for blur effects within this view.

.blurEffectStyle(.systemChromeMaterial)

// Set the style for vibrancy effects within this view.

.vibrancyEffectStyle(.fill)
Adding Blur and Vibrancy Effects Directly to a View
Adding both a blur and vibrancy effect directly to a view only displays the blur effect.
If you’d like to blur the view’s background content, while adding vibrancy to the view’s foreground content, use the .background() modifier, and pass BlurEffect() as its argument. Although BlurEffect may not be very Apple-like, it’s better than the .blurEffect() modifier implementation below.
                                                YourView()

.vibrancyEffect()

.background(BlurEffect())
// as opposed to:
YourView()

.vibrancyEffect()

.background(

Color.clear

.blurEffect()

)
GitHub
- August 27, 2025
- SwiftUI
This package provides you with an easy way to show tooltips over any SwiftUI view, since Apple does not provide ...
- August 27, 2025
- SwiftUI
- Uncategorized
SimpleToast is a simple, lightweight, flexible and easy to use library to show toasts / popup notifications inside iOS or ...
- August 27, 2025
- SwiftUI
Create Toast Views with Minimal Effort in SwiftUI Using SSToastMessage. SSToastMessage enables you to effortlessly add toast notifications, alerts, and ...


