- August 28, 2025
- Mins Read
A wonderful layout component called the UIStackView was introduced with iOS 9. With this component it is really easy to layout components in a row both horizontally and vertically. Apple recommends using the UIStackView wherever possible and resort to explicit NSLayoutConstraints only when there is no way to do it with UIStackView. This saves you lots of boiler plate NSLayoutConstraint creation code.
UIStackView requires iOS 9, but we’re not ready to make our apps require iOS 9+ just yet. In the meanwhile, we developers are eager to try this component in our apps right now! This is why I created this replica of the UIStackView, called the TZStackView (TZ = Tom van Zummeren, my initials). I created this component very carefully, tested every single corner case and matched the results against the real UIStackView with automated XCTestCases.
Features
- Compatible with iOS 7.x and iOS 8.x
- Supports the complete API of
UIStackViewincluding all distribution and alignment options - Supports animating the
hiddenproperty of the arranged subviews - Supports Storyboard
So this implementation does not support Storyboard. It is meant for iOS developers who, like me, want to use the UIStackView in our existing apps and like to layout their components in code as opposed to using Storyboard.
Setup
You basically have two options to include the TZStackView in your Xcode project:
Use CocoaPods
Example Podfile:
                                                source ‘https://github.com/CocoaPods/Specs.git’

platform :ios, “8.0”

use_frameworks!
pod “TZStackView”, “1.2.0”
Unfortunately, using CocoaPods with a Swift pod requires iOS 8.
Use Carthage
Example Cartfile:
github “tomvanzummeren/TZStackView” ~> 1.2.0
Run carthage to build the framework and drag the built TZStackView.framework into your Xcode project.
Drag files directly into your project
Alternatively (when you do want to support iOS 7) drag in the following classes from the Example folder directly into your Xcode project
TZStackViewTZSpacerViewTZStackViewAlignmentTZStackViewDistribution
Example usage
Given view1, view2 and view3 who have intrinsic content sizes set to 100×100, 80×80 and 60×60 respectively.
                                                let stackView = TZStackView(arrangedSubviews: [view1, view2, view3])

stackView.distribution = .FillEqually

stackView.alignment = .Center

stackView.axis = .Vertical

stackView.spacing = 25
This would produce the following layout:
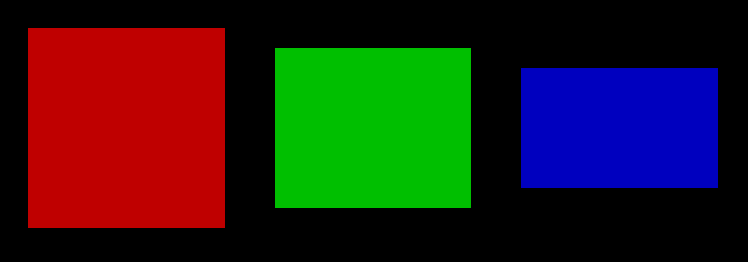
See the developer documentation for UIStackView for all other combinatins of distributions, alignments and axis. TZStackView works and behaves exactly the same way as the UIStackView except for not supporting Storyboard. If you do find a case where it does not behave the same way, please file a bug report.
To animate adding a view to or removing a view from the arranged subviews, simply hide or show them by adjusting the hidden property within an animation block (as described by the UIStackView reference docs as well):
                                                UIView.animateWithDuration(0.5, animations: {

self.view2.hidden = true

})

Migrating to UIStackView
If at a later point you decide to make iOS 9 the minimum requirement of your app (it will happen sooner or later), you will want to migrate to the real UIStackView instead of using this implementation. Because the TZStackView is a drop-in replacement for UIStackView, you simply replace:
let stackView = TZStackView(arrangedSubviews: views)
with …
let stackView = UIStackView(arrangedSubviews: views)
… and you’re good to go! You will not need to make any other changes and everything will simply work the way it worked before.
GitHub
#ios #layout #storyboard #swift #uicomponent #uistackview
YOU MIGHT ALSO LIKE...

- August 27, 2025
- SwiftUI
This package provides you with an easy way to show tooltips over any SwiftUI view, since Apple does not provide ...
- August 27, 2025
- SwiftUI
- Uncategorized
SimpleToast is a simple, lightweight, flexible and easy to use library to show toasts / popup notifications inside iOS or ...
- August 27, 2025
- SwiftUI
Create Toast Views with Minimal Effort in SwiftUI Using SSToastMessage. SSToastMessage enables you to effortlessly add toast notifications, alerts, and ...

- August 27, 2025
- Mins Read
- August 27, 2025
- Mins Read
- August 27, 2025
- Mins Read
- August 22, 2025
- Mins Read
