- August 28, 2025
- Mins Read
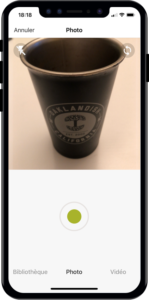
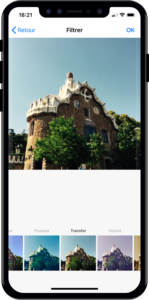
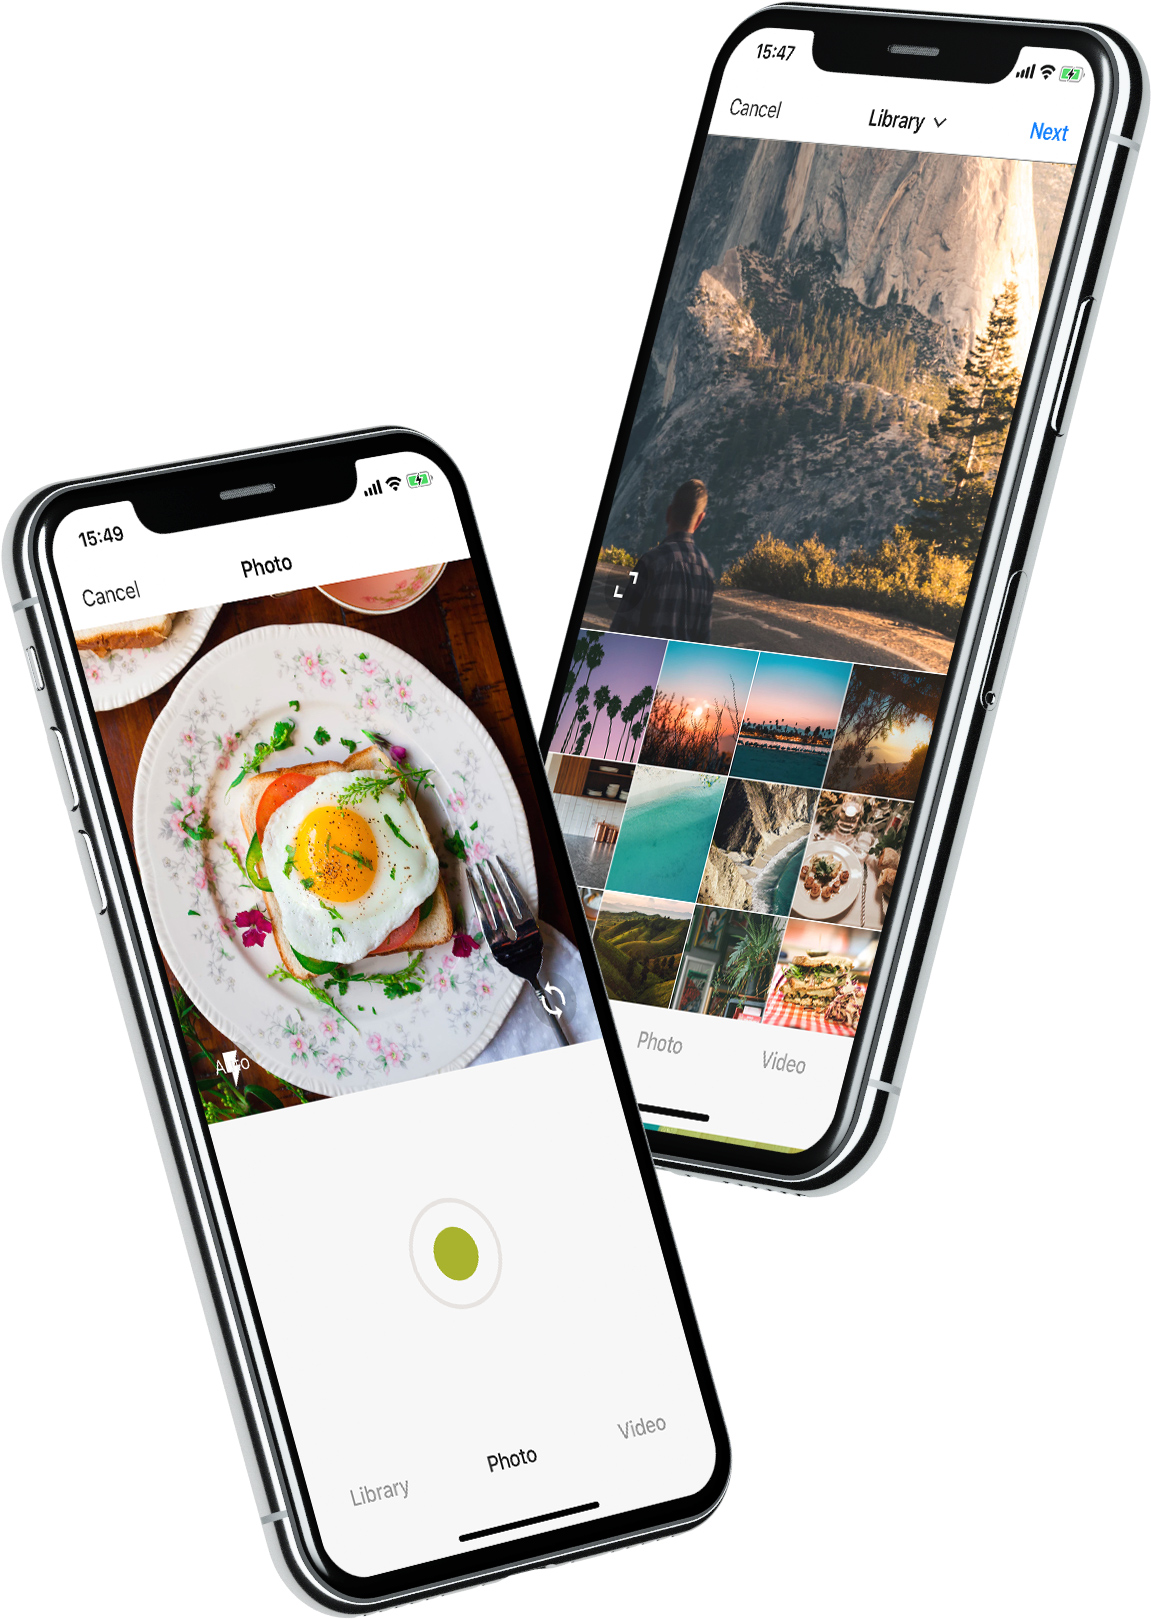
YPImagePicker is an instagram-like photo/video picker for iOS written in pure Swift. It is feature-rich and highly customizable to match your App’s requirements.
Installation – Configuration – Usage – Languages – UI Customization
Give it a quick try : pod repo update then pod try YPImagePicker


Those features are available just with a few lines of code!
Notable Features
🌅 Library
📷 Photo
🎥 Video
✂️ Crop
⚡️ Flash
🖼 Filters
📁 Albums
🔢 Multiple Selection
📏 Video Trimming & Cover selection
📐 Output image size
And many more…
Installation
Using CocoaPods
First be sure to run pod repo update to get the latest version available.
Add pod 'YPImagePicker' to your Podfile and run pod install. Also add use_frameworks! to the Podfile.
                                                target ‘MyApp’

pod ‘YPImagePicker’

use_frameworks!
Using Swift Package Manager
Open SPM dependency manager through File > Swift Pakcages > Add Package Dependency....
and insert repository URL:
https://github.com/Yummypets/YPImagePicker.git
To add dependency in your own package, just specify a package in dependencies of your Package.swift:
                                                .package(

name: “YPImagePicker”,

url: “https://github.com/Yummypets/YPImagePicker.git”,

.upToNextMajor(from: “5.0.0”)

)
Note: This has a minimum target iOS version of 12.0.
Plist entries
In order for your app to access camera and photo libraries, you’ll need to ad these plist entries :
- Privacy – Camera Usage Description (photo/videos)
- Privacy – Photo Library Usage Description (library)
- Privacy – Microphone Usage Description (videos)
                                                <key>NSCameraUsageDescription</key>

<string>yourWording</string>

<key>NSPhotoLibraryUsageDescription</key>

<string>yourWording</string>

<key>NSMicrophoneUsageDescription</key>

<string>yourWording</string>
Configuration
All the configuration endpoints are in the YPImagePickerConfiguration struct. Below are the default value for reference, feel free to play around 🙂
                                                var config = YPImagePickerConfiguration()

// [Edit configuration here …]

// Build a picker with your configuration

let picker = YPImagePicker(configuration: config)
General
                                                config.isScrollToChangeModesEnabled = true

config.onlySquareImagesFromCamera = true

config.usesFrontCamera = false

config.showsPhotoFilters = true

config.showsVideoTrimmer = true

config.shouldSaveNewPicturesToAlbum = true

config.albumName = “DefaultYPImagePickerAlbumName”

config.startOnScreen = YPPickerScreen.photo

config.screens = [.library, .photo]

config.showsCrop = .none

config.targetImageSize = YPImageSize.original

config.overlayView = UIView()

config.hidesStatusBar = true

config.hidesBottomBar = false

config.hidesCancelButton = false

config.preferredStatusBarStyle = UIStatusBarStyle.default

config.bottomMenuItemSelectedColour = UIColor(r: 38, g: 38, b: 38)

config.bottomMenuItemUnSelectedColour = UIColor(r: 153, g: 153, b: 153)

config.filters = [DefaultYPFilters…]

config.maxCameraZoomFactor = 1.0

config.fonts..
Library
                                                config.library.options = nil

config.library.onlySquare = false

config.library.isSquareByDefault = true

config.library.minWidthForItem = nil

config.library.mediaType = YPlibraryMediaType.photo

config.library.defaultMultipleSelection = false

config.library.maxNumberOfItems = 1

config.library.minNumberOfItems = 1

config.library.numberOfItemsInRow = 4

config.library.spacingBetweenItems = 1.0

config.library.skipSelectionsGallery = false

config.library.preselectedItems = nil

config.library.preSelectItemOnMultipleSelection = true
Video
                                                config.video.compression = AVAssetExportPresetHighestQuality
config.video.fileType = .mov
config.video.recordingTimeLimit = 60.0
config.video.libraryTimeLimit = 60.0
config.video.minimumTimeLimit = 3.0
config.video.trimmerMaxDuration = 60.0
config.video.trimmerMinDuration = 3.0

Copied!
Gallery
config.gallery.hidesRemoveButton = false
Default Configuration
                                                // Set the default configuration for all pickers

YPImagePickerConfiguration.shared = config
// And then use the default configuration like so:

let picker = YPImagePicker()
When displaying picker on iPad, picker will support one size only you should set it before displaying it:
                                                let preferredContentSize = CGSize(width: 500, height: 600);

YPImagePickerConfiguration.widthOniPad = preferredContentSize.width;
// Now you can Display the picker with preferred size in dialog, popup etc
Usage
First things first import YPImagePicker.
The picker only has one callback didFinishPicking enabling you to handle all the cases. Let’s see some typical use cases 🤓
Single Photo
                                                let picker = YPImagePicker()

picker.didFinishPicking { [unowned picker] items, _ in

if let photo = items.singlePhoto {

print(photo.fromCamera) // Image source (camera or library)

print(photo.image) // Final image selected by the user

print(photo.originalImage) // original image selected by the user, unfiltered

print(photo.modifiedImage) // Transformed image, can be nil

print(photo.exifMeta) // Print exif meta data of original image.

}

picker.dismiss(animated: true, completion: nil)

}

present(picker, animated: true, completion: nil)
Single video
                                                // Here we configure the picker to only show videos, no photos.

var config = YPImagePickerConfiguration()

config.screens = [.library, .video]

config.library.mediaType = .video
let picker = YPImagePicker(configuration: config)

picker.didFinishPicking { [unowned picker] items, _ in

if let video = items.singleVideo {

print(video.fromCamera)

print(video.thumbnail)

print(video.url)

}

picker.dismiss(animated: true, completion: nil)

}

present(picker, animated: true, completion: nil)
As you can see singlePhoto and singleVideo helpers are here to help you handle single media which are very common, while using the same callback for all your use-cases \o/
Multiple selection
To enable multiple selection make sure to set library.maxNumberOfItems in the configuration like so:
                                                var config = YPImagePickerConfiguration()

config.library.maxNumberOfItems = 3

let picker = YPImagePicker(configuration: config)
Then you can handle multiple selection in the same callback you know and love :
                                                picker.didFinishPicking { [unowned picker] items, cancelled in

for item in items {

switch item {

case .photo(let photo):

print(photo)

case .video(let video):

print(video)

}

}

picker.dismiss(animated: true, completion: nil)

}
Handle Cancel event (if needed)
                                                picker.didFinishPicking { [unowned picker] items, cancelled in

if cancelled {

print(“Picker was canceled”)

}

picker.dismiss(animated: true, completion: nil)

}
That’s it !
Languages
🇺🇸 English, 🇪🇸 Spanish, 🇫🇷 French 🇷🇺 Russian, 🇵🇱 Polish, 🇳🇱 Dutch, 🇧🇷 Brazilian, 🇹🇷 Turkish, 🇸🇾 Arabic, 🇩🇪 German, 🇮🇹 Italian, 🇯🇵 Japanese, 🇨🇳 Chinese, 🇮🇩 Indonesian, 🇰🇷 Korean, 🇹🇼 Traditional Chinese(Taiwan), 🇻🇳 Vietnamese, 🇹🇭 Thai, 🇨🇿 Czech, 🇮🇷 Farsi.
If your language is not supported, you can still customize the wordings via the configuration.wordings api:
                                                config.wordings.libraryTitle = “Gallery”

config.wordings.cameraTitle = “Camera”

config.wordings.next = “OK”
Better yet you can submit an issue or pull request with your Localizable.strings file to add a new language !
UI Customization
We tried to keep things as native as possible, so this is done mostly through native Apis.
Navigation bar color
                                                let coloredImage = UIImage(color: .red)

UINavigationBar.appearance().setBackgroundImage(coloredImage, for: UIBarMetrics.default)

// UIImage+color helper https://stackoverflow.com/questions/26542035/create-uiimage-with-solid-color-in-swift
Navigation bar fonts
                                                let attributes = [NSAttributedString.Key.font : UIFont.systemFont(ofSize: 30, weight: .bold) ]

UINavigationBar.appearance().titleTextAttributes = attributes // Title fonts

UIBarButtonItem.appearance().setTitleTextAttributes(attributes, for: .normal) // Bar Button fonts
Navigation bar Text colors
                                                UINavigationBar.appearance().titleTextAttributes = [NSAttributedString.Key.foregroundColor : UIColor.yellow ] // Title color

UINavigationBar.appearance().tintColor = .red // Left. bar buttons

config.colors.tintColor = .green // Right bar buttons (actions)
GitHub
- August 27, 2025
- SwiftUI
This package provides you with an easy way to show tooltips over any SwiftUI view, since Apple does not provide ...
- August 27, 2025
- SwiftUI
- Uncategorized
SimpleToast is a simple, lightweight, flexible and easy to use library to show toasts / popup notifications inside iOS or ...
- August 27, 2025
- SwiftUI
Create Toast Views with Minimal Effort in SwiftUI Using SSToastMessage. SSToastMessage enables you to effortlessly add toast notifications, alerts, and ...


